The adventure ahead

Campaign Overview

Register to save this campaign forever!

This campaign will be deleted in 6 days. Create a free account to claim all your generated content.

The Ash Bell of Kettle Vale

A one-shot-friendly fantasy mystery for 2–4 heroes, levels 1–3.

The valley village of Thornwell has lost three people in a fortnight. Each vanished after hearing a bell in the fog, and each left a smear of grey ash on their doorstep. The trail leads into the Ashfen Marsh, to charcoal burners who have sold their loyalty to a soft-spoken bellringer named Maera Vell. She is gathering 'echoes' for a cracked bronze bell in a ruined tower — and the bell is only the first note of a far larger choir.

Tone: folk-horror fantasy, misty marshes, small acts of courage.

Themes: grief, community, and the cost of listening to the wrong voice.

This preview covers Act I.

Share with your players

Player Handout

Your Hook

You are traveling the Kettle Vale road when smoke and bells draw you to Thornwell. Mara Thorn, the village elder, meets you at the Kettle & Thorn inn with a cold lantern and a colder fear: her grandson Tam vanished last night. Three others are gone. Each heard a bell before they disappeared, and each left a smear of grey ash on their doorstep.

She begs you to follow the ash trail into the Ashfen Marsh.

Tone: mist, mud, lantern light, and folk horror.

Party: 2–4 characters, level 1.

Content note: missing people, grief, and creepy bell magic.

Free Act I Preview
Levels 1 3 Sessions 2–3 sessions of 3–4 hours each

The Ash Bell of Kettle Vale

Behind the screen

Act I is a self-contained opening arc for levels 1–3. Maera Vell is a local agent, not the campaign's ultimate villain. She serves the Hollow Choir, a distant cabal that collects last memories and tunes them into a great instrument. The party should end Act I knowing the name Hollow Choir and feeling that Maera was a small bell in a much larger instrument. Run the four scenes in order: Thornwell, the Ashfen Marsh, the Cinder Camp, and the Hollow Bell Tower.

Encounters use SRD monsters; Maera uses her villain sheet. Keep the finale winnable: Maera flees at half hit points if the party is struggling, leaving clues rather than a total-party defeat.

Adventure Hooks

Hook 01

The Cold Lantern

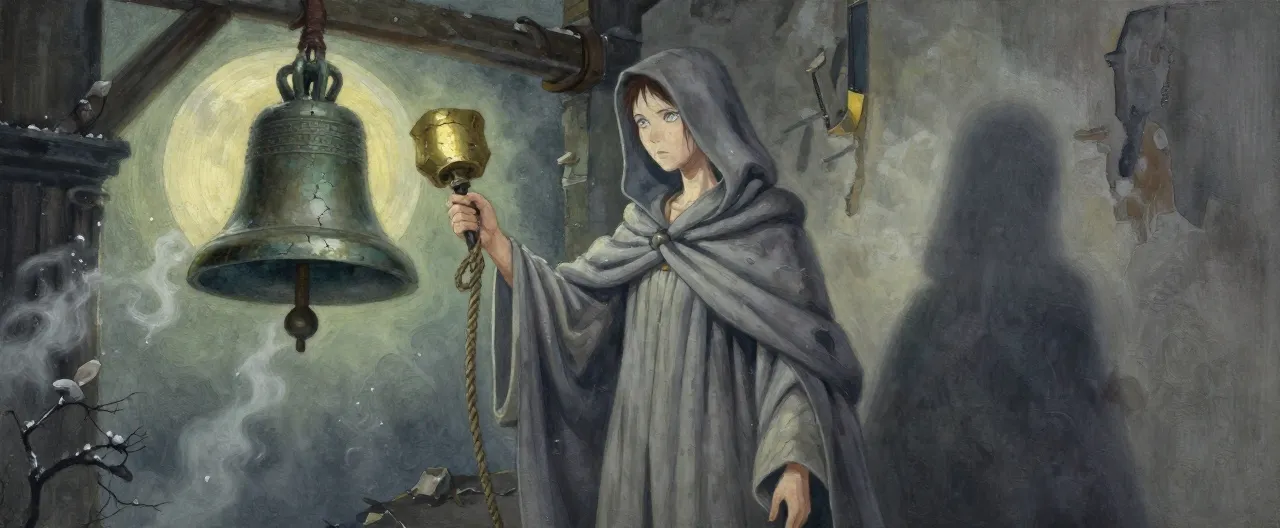
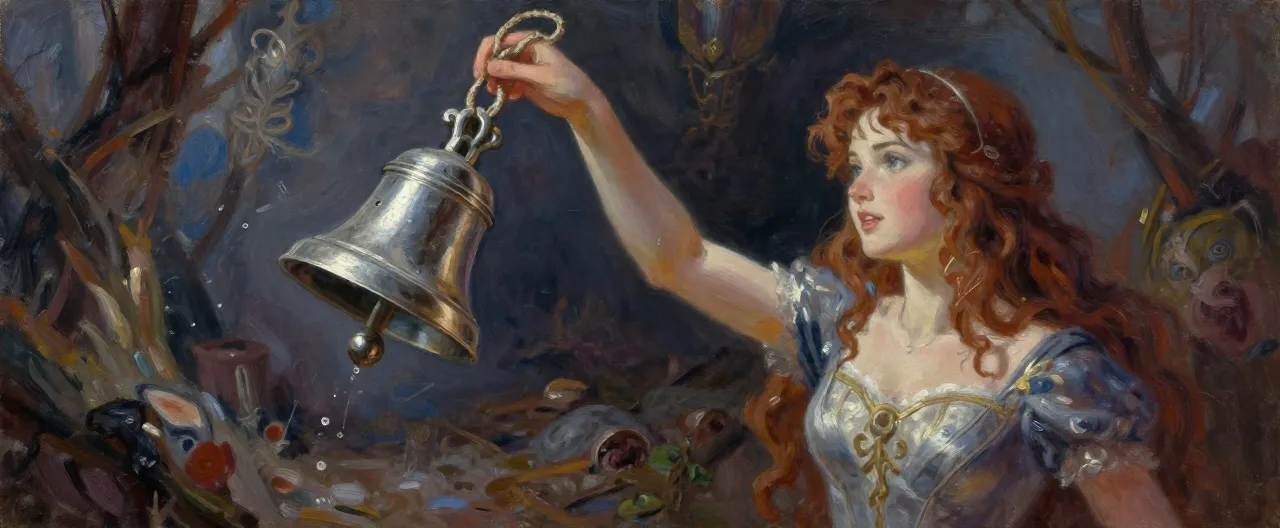
The party is on the Kettle Vale road when a bell rings once in the fog and every door in Thornwell bolts shut. Mara Thorn meets them at the Kettle & Thorn with a cold lantern and a colder fear: three villagers gone in a fortnight, her grandson Tam the latest, each leaving grey ash on the doorstep. She offers bed, board, and every coin the village can spare for anyone who follows the ash trail into the Ashfen Marsh.
Hook 02

The Peddler's Warning

Lysse Ward, a traveling peddler, hires the party as escorts along the marsh road — then refuses to go further after seeing a hooded figure with a handbell at the reeds' edge. She pays them in trade goods to carry word to Thornwell, where Mara Thorn is desperate for anyone willing to investigate the ash tokens and the missing villagers. The party arrives as outsiders with a reason to be trusted and a reason to stay.

Act Structure

Act I: The Bell That Wakes the Fen

Recommended level: 1–3

The party arrives in Thornwell as the village reels from three disappearances. Ash tokens, a stolen shrine clapper, and a hooded bellringer lead them into the Ashfen Marsh, to a charcoal camp in Maera Vell's pay, and finally to the Hollow Bell Tower. There they must rescue Tam Thorn, silence the cracked bell, and learn that Maera is only a small agent of the distant Hollow Choir.

Objectives

  • Investigate the ash-marked disappearances in Thornwell.
  • Cross the Ashfen Marsh and find the captives' trail.
  • Rescue the captives at the Cinder Camp.
  • Confront Maera Vell at the Hollow Bell Tower and silence the bell.
  • Learn the name of the Hollow Choir.

The Ash on the Doorstep

The Kettle & Thorn inn and the burned cottage at Thornwell's north edge

Read aloud

Rain beads on the inn windows and the fire is down to embers. Mara Thorn sets a lantern on the table and folds her hands. 'Three gone in a fortnight. Last night my Tam. The bell came first, soft as a moth, and then the ash.' Outside, a shutter knocks in the wind.

Running this scene

Maera's cultists use ash tokens to mark houses; victims hear a handbell and follow. Tam was lured by a voice promising news of his drowned father. The burned cottage is Garrick Vale's; the fire was staged to cover abduction. Clues point to the Ashfen Marsh and to Osric Fenn, the ferryman. Lysse Ward saw a hooded figure with a handbell. No combat is needed here unless the party provokes the villagers.

Checks
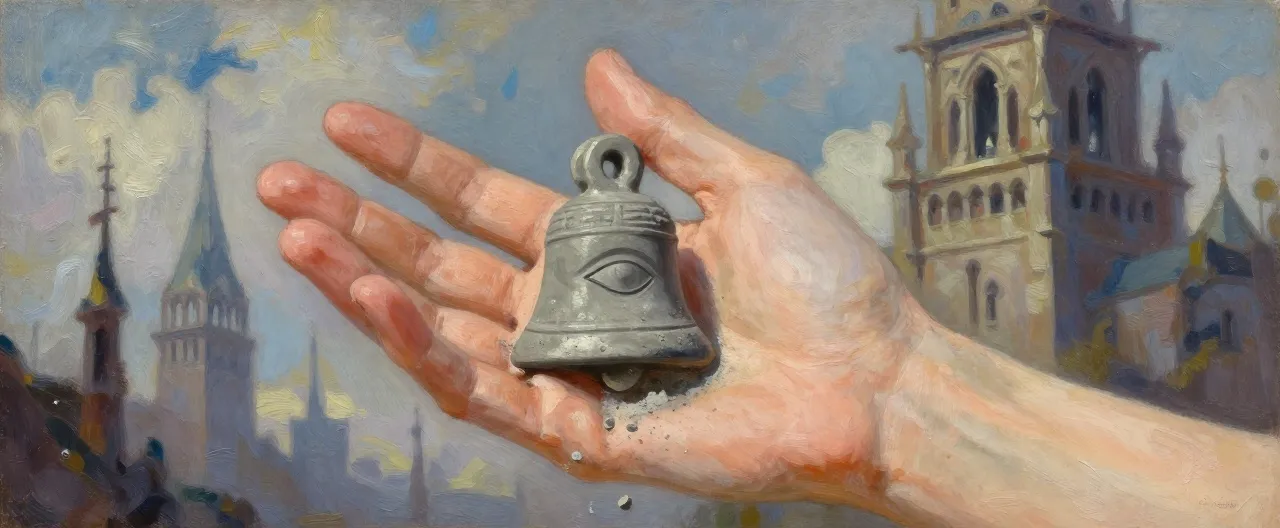
  • Investigation DC 12 at the burned cottage: find a palm-sized ash-glazed bell token under the door lintel.
  • Perception DC 13: hear a faint bell note from the marsh at dusk.
  • Persuasion DC 12 with Mara: she admits Tam had been asking about his drowned father.
  • Survival DC 12: tracks lead northeast into the Ashfen.
Clues
  • Ash tokens are stamped with a bell and a closed eye.
  • The missing all heard a bell before vanishing.
  • Lysse Ward saw a hooded figure with a handbell at the edge of the marsh.
  • Osric Fenn knows the safe paths through the Ashfen.
Where next
  • Mara directs the party to Osric Fenn in the Ashfen Marsh.
  • The tracks and bell note lead northeast along the old ferry road.

The Bell in the Reeds

Osric Fenn's ferry landing and the drowned paths of the Ashfen Marsh

Read aloud

The Ashfen breathes around you — a slow, wet inhale of mist. Osric poles his flat boat through the reeds and speaks without turning. 'The bell-bog's been ringing all week. Frogs won't sing. Bullywugs are bold. And I saw lanterns where no lanterns ought to be.'

Running this scene

Osric can guide the party but is ashamed he once ferried cultists. Encounters: 2 Giant Frog in the reeds and 3 Bullywug at a sunken causeway. They can be avoided with Stealth or bribed with food. Clues include ash-marked posts, a dropped bell token, a captive's torn sleeve, and a charcoal burner's glove. If trusted, Osric reveals the Cinder Camp's location.

Checks
  • Survival DC 13: follow the captives' trail through the reeds.
  • Stealth DC 12: slip past the Giant Frogs.
  • Animal Handling DC 13 or Persuasion DC 14: calm the Bullywugs with food.
  • Insight DC 12 on Osric: he is hiding that he knows the tower's lower door.
Clues
  • The captives were taken toward the charcoal burners' camp.
  • The cultists pay the camp's bandits with ash-glazed bells.
  • Osric once ferried a woman in a grey veil to the tower.
Where next
  • Osric leads the party to the Cinder Camp.
  • A charcoal burner's trail leads to the camp's smoke.

The Cinder Camp

The charcoal burners' camp and its holding pen

Read aloud

Charcoal smoke stings your eyes. Four bandits dice by a fire, their laughter too loud. A pen of wattle and ash holds three captives. One of them, a broad-shouldered man with rope burns on his wrists, lifts his head and mouths a warning.

Running this scene

The camp holds 4 Bandit, 2 Cultist, and 1 Ogre. Maera is not here; she is at the tower. Captives include Garrick Vale and two villagers. Tam was taken to the tower. Garrick knows the tower's bell rope and Maera's routine. Osric can create a distraction. If the party is stealthy, they can avoid the Ogre.

Checks
  • Stealth DC 14: approach the holding pen unseen.
  • Athletics DC 13: break the pen's lock or lift its gate.
  • Deception DC 13: pose as new recruits to walk into camp.
  • Intimidation DC 14: make a bandit reveal Tam was sent to the tower.
Clues
  • Maera Vell rings the Hollow Bell at moonrise to 'open the fen'.
  • Tam is kept at the tower because his grief makes a strong echo.
  • The cultists fear the name Hollow Choir and will not speak it above a whisper.
Where next
  • Garrick Vale offers to guide the party to the Hollow Bell Tower.
  • A cultist's map shows the tower path.

The Hollow Bell

The ruined bell tower in the Ashfen, at moonrise

Read aloud

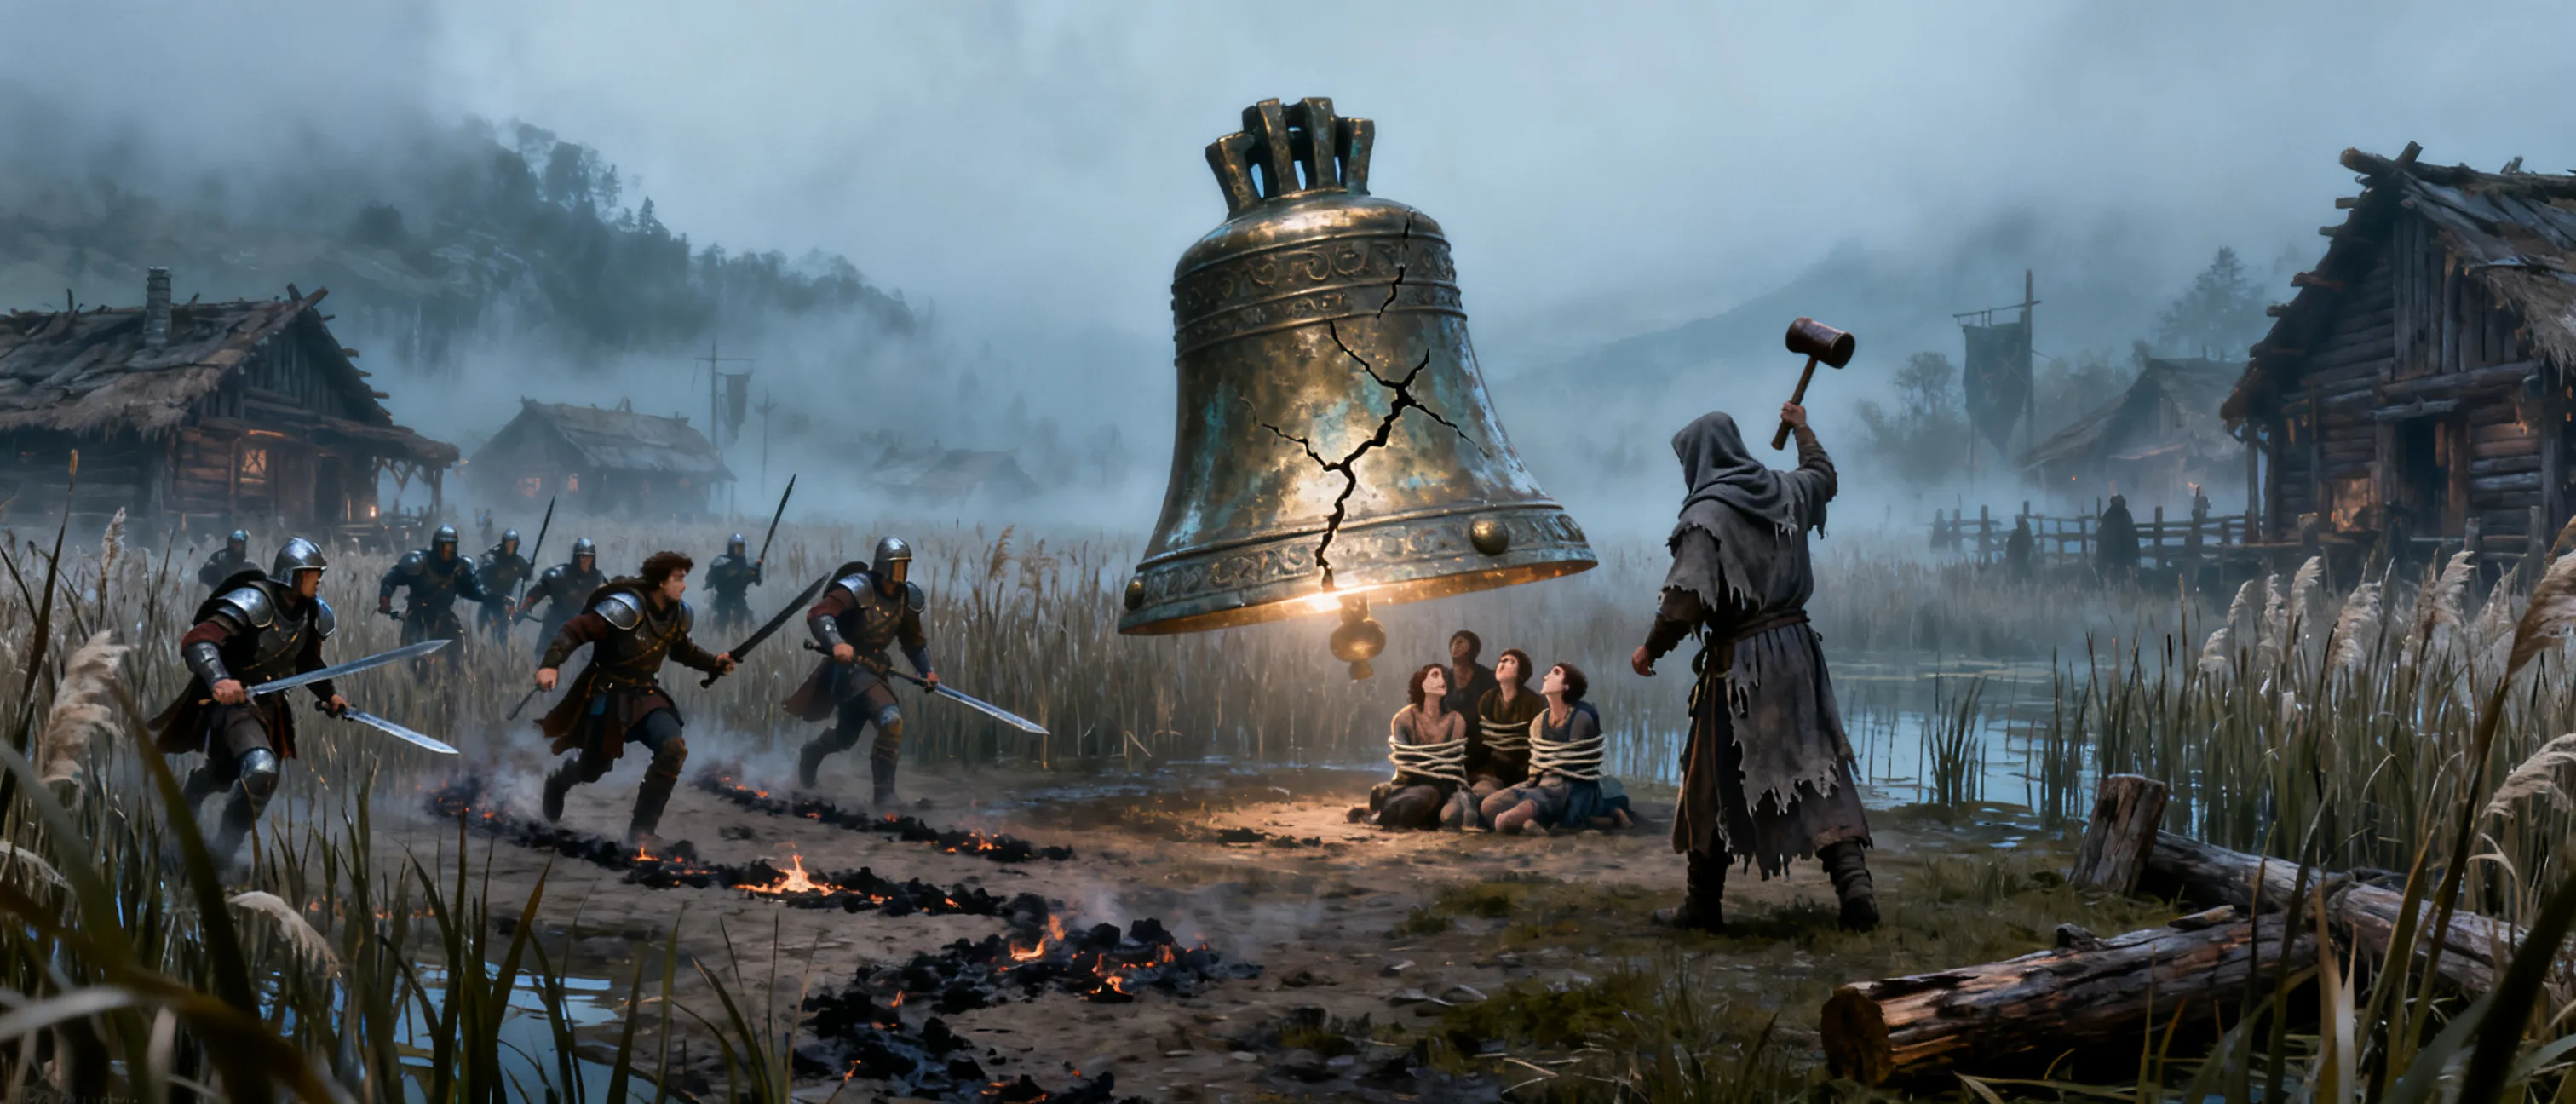
The tower leans against a bruised sky. A cracked bronze bell hangs in the belfry, wide as a cartwheel. Beneath it stands a woman in a grey veil, a small handbell raised. 'You came to the concert,' Maera Vell says softly. 'Sit. Listen. The Choir is almost here.'

Running this scene

Maera Vell uses her villain sheet. Support: 2 Cultist and 4 Bandit. Tam is bound at the bell rope. The Hollow Bell rings on initiative count 20 of round 3 and round 5; each ring charms a captive or deals psychic damage. Sister Ivy's clapper can crack the bell as an action. Maera flees at half hit points if the party is struggling, leaving clues.

Checks
  • Arcana DC 14: understand the bell's resonance and how to disrupt it.
  • Athletics DC 13: climb the tower to cut Tam free.
  • Persuasion DC 15: reach Maera's grief and make her hesitate.
  • Sleight of Hand DC 14: swap the bell clapper with Sister Ivy's silver clapper.
Clues
  • Maera serves the Hollow Choir, a distant cabal that collects last memories.
  • The Hollow Bell is a tuning fork for a much larger instrument.
  • Maera's sister drowned in the Ashfen; her name was struck from the bell.
Where next
  • The cracked bell falls silent, and the marsh exhales.
  • Maera's flight or capture points beyond the Kettle Vale to the Hollow Choir.

Milestone: Level 2 after rescuing the captives at the Cinder Camp; level 3 after the finale at the Hollow Bell Tower.

Villain Character Sheets

Maera Vell, the Ash Bellringer Maera Vell, the Ash Bellringer

Maera Vell is a tall, gaunt woman in her forties who moves through the Ashfen's mist the way a bell's tone moves through fog — inevitable, …

Premium Campaign Feature

Free campaign generations include one villain sheet. Additional villain, NPC, and player-facing module character sheets are available in premium campaigns.

Subscribe Now

Monsters & Enemies

Premium Campaign Feature

Free campaign encounters use official monster sheets, plus the campaign villain character when referenced. They do not include generated custom monster sheets. Subscribe to create custom campaign monsters and enemy stat blocks.

Subscribe Now

Villain Plans

Maera Vell, the Ash Bellringer Character Sheet

Act I antagonist and local agent of the Hollow Choir

Motivation

Maera believes the Hollow Bell will let her hear her drowned sister's voice. The Hollow Choir taught her to feed the bell with 'echoes' — the last memories of the grieving — and promised her a place in their choir if she can make the bell ring true.

Personality

Calm, maternal, and unsettling. She speaks in bell metaphors, never raises her voice, and offers mercy that is worse than cruelty. She genuinely pities the missing, even as she uses them.

Resources

  • The Cinder Camp and its charcoal burners
  • 4 Bandit, 2 Cultist, and 1 Ogre in her service
  • Ash-marked bell tokens that mark houses for the Choir
  • The Hollow Bell Tower and its cracked bronze bell
  • A cracked handbell that charms the grieving
  • Knowledge of the Ashfen's hidden paths

Battle Plan

Maera opens with her handbell to charm a grieving or wounded character, then calls cultists forward while bandits circle. She uses ash clouds and the bell rope for cover, retreating toward the tower stairs if pressed. If the Hollow Bell rings, she gains temporary vigor and presses the attack. She never fights to the death unless cornered; at half hit points she tries to flee into the marsh, leaving clues behind.

Defeat or Redemption

If defeated or captured, Maera reveals the name Hollow Choir and insists the Choir is already listening. If shown a true memory of her sister — not the Choir's version — she hesitates, cracks the Hollow Bell herself, and either surrenders or flees into the fog, no longer certain what she serves.

Running Notes

Recommended party: 2–4 characters (best with 3)

Session Zero

Before play, confirm the table's comfort with folk-horror themes: missing people, grief, drowned family members, and children in danger. Use a lines-and-veils list or an anonymous card system, and agree that any scene can be paused or faded to black. Establish tone — misty, quiet, small acts of courage rather than gore — and confirm the party is 2–4 characters at level 1 with a reason to be on the Kettle Vale road. Ask each player for one person their character has lost, since the Hollow Choir feeds on grief and the campaign will ask about it. Set expectations that Act I is a self-contained rescue arc, that Maera is a local agent rather than the ultimate enemy, and that the session ends on a hook toward the Hollow Choir.

Scaling Guidance

Act I is tuned for three 1st–3rd level characters. For a party of two, cut one official monster from each encounter roster and let the ogre Stoker sleep through the Cinder Camp unless the party makes noise; Maera flees at the first sign of a losing fight. For four or more, add one Bullywug in the marsh, two Bandit at the camp, and one Cultist plus two Bandit at the tower, and let the Hollow Bell ring on rounds 2, 4, and 6. If the party reaches the tower without Sister Ivy's clapper, allow an Arcana check (DC 14) or brute force on the bell to substitute, at the cost of a round of exposure. Never let the finale become a total-party defeat: Maera retreats rather than executes, and Tam can be cut free by any character who reaches the rope.

DM Advice

Run the four scenes in order and let investigation carry the first hour: the ash token, Lysse's testimony, and Osric's evasiveness are the spine. Keep the marsh quiet and the camp loud — contrast sells the horror. Maera uses her villain sheet, never a monster stat block, and she speaks in bell metaphors without ever raising her voice. Track moonrise visibly at the tower so the bell rings feel like a clock. Reward preparation: the silver clapper, a rescued Garrick, and Brannoc's repaired weapons should all matter in the finale. End on the distant choir, not on a corpse.

Secrets & Clues

  • The ash tokens are bell-stamped summons, not threats: each marks a house the Hollow Choir may call again, and the same token appears on the drowned chapel stone in the Ashfen.
  • Maera Vell's drowned sister's name is struck through on the Hollow Bell's rim in fresh bronze — the crack in the bell is a wound she made, not a flaw she found.
  • The Hollow Choir is not in Kettle Vale. The bell is a tuning fork for a much larger instrument, and Maera's letter names a city far beyond the valley where the Choir is already singing.
  • Osric Fenn once ferried Maera and her cultists to the tower and knows its lower door; his shame, not ignorance, keeps him silent until the party earns his trust.

Unlock Detailed Campaign Locations!

Discover intricate areas, locations, and points of interest that will bring your D&D world to life. Premium users get access to fully detailed locations including taverns, dungeons, cities, and more!

Level Up to Premium!

Join the ranks of Dungeon Masters creating unforgettable adventures!

Villain Character Sheets

Maera Vell, the Ash Bellringer Maera Vell, the Ash Bellringer

Maera Vell is a tall, gaunt woman in her forties who moves through the Ashfen's mist the way a bell's tone moves through fog — inevitable, …

Premium Campaign Feature

Free campaign generations include one villain sheet. Additional villain, NPC, and player-facing module character sheets are available in premium campaigns.

Subscribe Now

Monsters & Enemies

Premium Campaign Feature

Free campaign encounters use official monster sheets, plus the campaign villain character when referenced. They do not include generated custom monster sheets. Subscribe to create custom campaign monsters and enemy stat blocks.

Subscribe Now

Villain Plans

Maera Vell, the Ash Bellringer Character Sheet

Act I antagonist and local agent of the Hollow Choir

Motivation

Maera believes the Hollow Bell will let her hear her drowned sister's voice. The Hollow Choir taught her to feed the bell with 'echoes' — the last memories of the grieving — and promised her a place in their choir if she can make the bell ring true.

Personality

Calm, maternal, and unsettling. She speaks in bell metaphors, never raises her voice, and offers mercy that is worse than cruelty. She genuinely pities the missing, even as she uses them.

Resources

  • The Cinder Camp and its charcoal burners
  • 4 Bandit, 2 Cultist, and 1 Ogre in her service
  • Ash-marked bell tokens that mark houses for the Choir
  • The Hollow Bell Tower and its cracked bronze bell
  • A cracked handbell that charms the grieving
  • Knowledge of the Ashfen's hidden paths

Battle Plan

Maera opens with her handbell to charm a grieving or wounded character, then calls cultists forward while bandits circle. She uses ash clouds and the bell rope for cover, retreating toward the tower stairs if pressed. If the Hollow Bell rings, she gains temporary vigor and presses the attack. She never fights to the death unless cornered; at half hit points she tries to flee into the marsh, leaving clues behind.

Defeat or Redemption

If defeated or captured, Maera reveals the name Hollow Choir and insists the Choir is already listening. If shown a true memory of her sister — not the Choir's version — she hesitates, cracks the Hollow Bell herself, and either surrenders or flees into the fog, no longer certain what she serves.

Enhance Your Story with Rich NPCs!

Get access to detailed NPCs, faction relationships, and character backgrounds that will make your campaign truly memorable!

Unlock Premium Features!

Create compelling characters and factions that your players will never forget!

Craft Epic Quest Lines!

Unlock detailed quest structures, branching storylines, and meaningful rewards that will keep your players engaged for months!

Start Your Epic Journey!

Join DMs creating unforgettable adventures with our premium quest system!

Play Your Campaign as a 3D Adventure!

Free campaigns can't be played as a game. Premium campaigns become a 3D adventure you play in the browser: explore settlements, wilderness and dungeons with your party, and fight in real time with pause.

Level Up to Premium!

Encounters

The Bell in the Reeds

Suggested Level: 1–2

Osric Fenn poles the party along a reed-knotted channel and falls silent, then grounds the boat. Ahead, bullywugs have dragged his flat ferry against a drowned causeway and made a nest in its cargo hold. Two giant frogs bask on the stones between the party and the boat.

Creatures

Terrain Features

Waist-deep peat water counts as difficult terrain and grants half cover to anyone submerged to the chest. The causeway stones are slick (DC 10 Dexterity saving throw to run across at full speed). Reed beds grant concealment. A submerged shrine stone at the causeway's center bears worn carvings of a bell and a closed eye.

Treasure

Osric's ferry, recoverable once the nest is cleared. In the cargo hold: a hidden lockbox with three old ash-glazed cultist tokens, a **Potion of Healing** in oiled leather, and 12 gp in water-stained coins. A dropped bell token and a captive's torn sleeve mark the trail onward.

DM Notes

For a party of two, drop one Giant Frog and one Bullywug. For four or more characters, add one Bullywug and one Giant Frog, and have the frogs ambush from behind the party's boat. If the party is already wounded from travel, let the bullywugs accept a food bribe instead of fighting.

The Cinder Camp

Suggested Level: 2

Following the captives' trail, the party reaches the charcoal burners' camp at dusk. Four bandits dice by the fire, two cultists in grey veils keep watch from the huts, and an ogre called the Stoker turns the charcoal pits. Three captives sit in the pen, one of them mouthing a warning.

Creatures

Terrain Features

Smoking charcoal mounds grant heavily obscured areas and deal 1d6 fire damage to anyone who enters one. Wattle fences give half cover and can be climbed (DC 12 Athletics). The central fire is a 5-foot hazard. The holding pen's gate is barred with an iron pin (DC 13 Athletics or DC 14 Sleight of Hand to open quietly).

Treasure

Brannoc Coal's stolen iron, some of it reforged into ash-glazed bell frames stamped with his maker mark. A cultist's map showing the hidden path to the tower's lower door. 35 gp in mixed coin, a **silvered dagger**, and a **Potion of Healing** in the cultists' hut.

DM Notes

For a party of two, remove the ogre and one bandit, or have the Stoker be asleep and wake only on a loud fight. For four or more characters, add two bandits and let the cultists cast from the hut roofs. If the party approaches by stealth or disguise, allow them to reach the pen and free the captives before initiative is rolled.

The Hollow Bell

Suggested Level: 3

Garrick Vale leads the party up the reed-hidden path to the tower's lower door. Inside, cultists hold the stair and bandits guard the flooded chapel landing. Above, Maera Vell stands beneath the cracked bronze bell with Tam Thorn bound at the rope, waiting for the moon.

Creatures

Terrain Features

The tower is a vertical fight: a spiral stair (difficult terrain, half cover on the landings), a collapsed roof open to the sky, and a flooded chapel landing below. The Hollow Bell rings on initiative count 20 of rounds 3 and 5 — each ring charms one captive or deals 1d6 psychic damage to all who can hear it. Ash drifts in drifts that grant lightly obscured areas. The bell rope can be cut (AC 12, 10 hit points).

Treasure

Sister Ivy's silver clapper, if recovered, can crack the bell as an action. On Maera: a cracked handbell, a Choir sigil of ash-glazed bronze, and a letter in a script that names the Hollow Choir and a city far beyond Kettle Vale. In the belfry: 60 gp in offerings, a **Potion of Healing**, and the **Ash-Glazed Bell Token**.

DM Notes

For a party of two, remove two bandits and have Maera flee at the first sign of a losing fight. For four or more characters, add one cultist and two bandits, and let the bell ring on rounds 2, 4, and 6. If the party recovered Sister Ivy's clapper, reward that preparation by letting the clapper crack the bell in one action rather than a skill challenge.

Magic Items

Sister Ivy's Silver Clapper Sister Ivy's Silver Clapper Completed

Sister Ivy's Silver Clapper

Uncommon
A thumb-sized silver clapper on a waxed cord, warm to the touch. Struck against any bell, it rings a clear true note that no ash-magic can smother — and it can crack the Hollow Bell itself.

Location

Act I — recovered from the bullywug nest in the Ashfen Marsh, or given freely by Sister Ivy if the party returns it to the shrine first.

Attunement

False

Ash-Glazed Bell Token Ash-Glazed Bell Token Completed

Ash-Glazed Bell Token

Uncommon
A palm-sized clay token stamped with a bell and a closed eye, glazed in grey ash. Crushed in the hand, it silences all sound within 10 feet for one round — and leaves a smear of ash that the Hollow Choir can read.

Location

Act I — taken from Maera Vell or found in the belfry of the Hollow Bell Tower.

Attunement

True — by any character who has heard the Hollow Bell ring

Emberheart Coal Emberheart Coal Completed

Emberheart Coal

Common
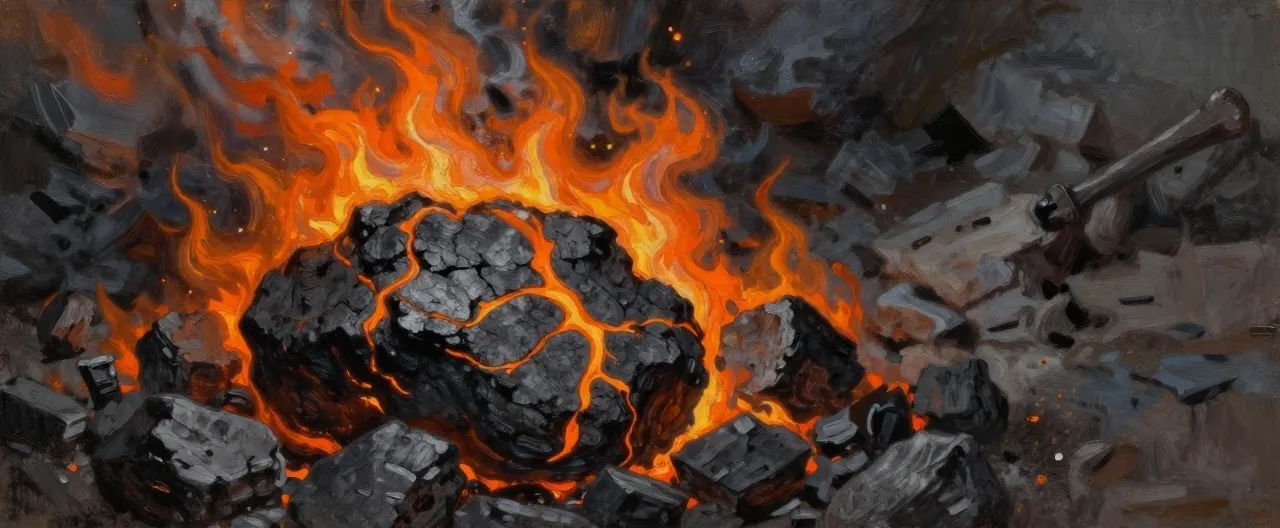
A fist-sized lump of charcoal that never cools, veined with dull orange light. Held to a wound, it burns away fatigue; thrown, it bursts into a cloud of stinging cinders and smoke.

Location

Act I — pulled from the Stoker's charcoal pit at the Cinder Camp, or traded from a charcoal burner for a favor.

Attunement

False

Player Characters

You need to register to create and view player characters in this campaign.

Register Now